First is a list of Parts:
- 3' section of 3" PVC
- 3" Toilet Flange
- 3" PVC Coupler
- 3" Plastic Globe
- Single Outlet
- 15' Extension Cord
- Outdoor Socket
- Red Spray Paint

First thing I did was place a small piece of wood in the center of the PVC Coupler. I laid the piece of wood on the coupler and hot glued it into place.

Next thing is to cut off the female end of the extension cord.

Next I took one end of the PVC pipe. I measured up from the bottom, the length of the electrical outlet. I then cut a whole in the PVC with a Dremel the size of the outlet.

Once the wood dries, I attached the outdoor rated socket onto the piece of wood. I little more hot glue holds it into place. I made sure that the wires were still sticking through the bottom of the coupler. Make sure you cu the extension cord. To do this, I cut about 3' of the wire so that I could attach it to the socket. I then sealed it with electrical tape and wire nuts.

Next I attached the 3' section of wire with the male end of the extension cord, to the outlet. Make sure you pull the end through the pipe or else you won't be able to get it through later on.

Next I pushed the outlet through the whole on the bottom of the pipe. I simply screwed the outlet in and hot glued around the edge to prevent water from getting in.

Nothing is glued together on this poles. Simply push on the flange on the bottom and push the coupler onto the top. Next drill 3 holes in the coupler that will hold the globe into place. After you get the screws in, place the bulb in the socket (I used a 35watt appliance bulb) and place the globe on top and tighten the screws.

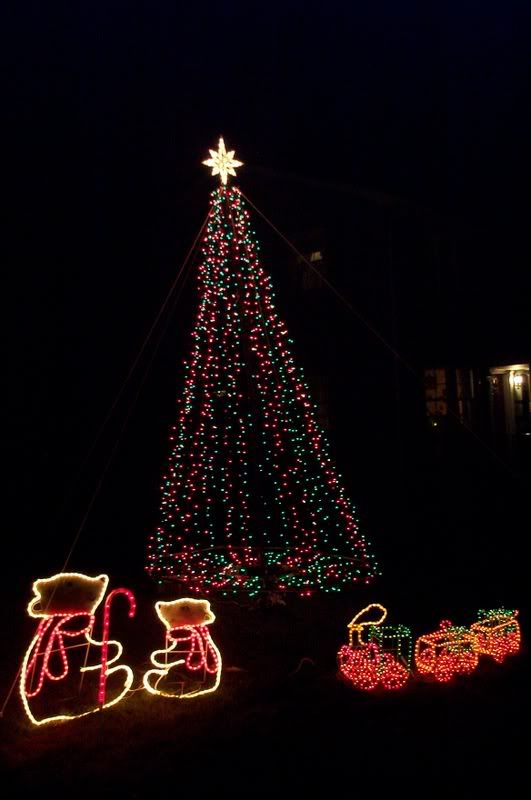
Finally, all I did was tape off a candy cane pattern on the poles and spray paint them red. The finished product looked like this.

Now my poles have an outlet on them, which is a very nice added feature. At the same time, it adds to the price. It makes it very easy to hook these all together in a daisy chain type of manner. I also plugged into them my "Light Cannons" when they were set up in the display.

If you have any questions, feel free to ask!!

1 comment:
Hello. This post is likeable, and your blog is very interesting, congratulations :-). I will add in my blogroll =). If possible gives a last there on my blog, it is about the Servidor, I hope you enjoy. The address is http://servidor-brasil.blogspot.com. A hug.
Post a Comment